How to color with alcohol markers: smooth fills, soft blends and simple shading
Alcohol markers give the flat, glowing color you see in cozy coloring videos, but only if the paper, the strokes and the timing are right. This guide goes from setup to blush and highlights on one bold-and-easy page, with a troubleshooting table at the end.
Updated October 28, 2026 · 14 sources
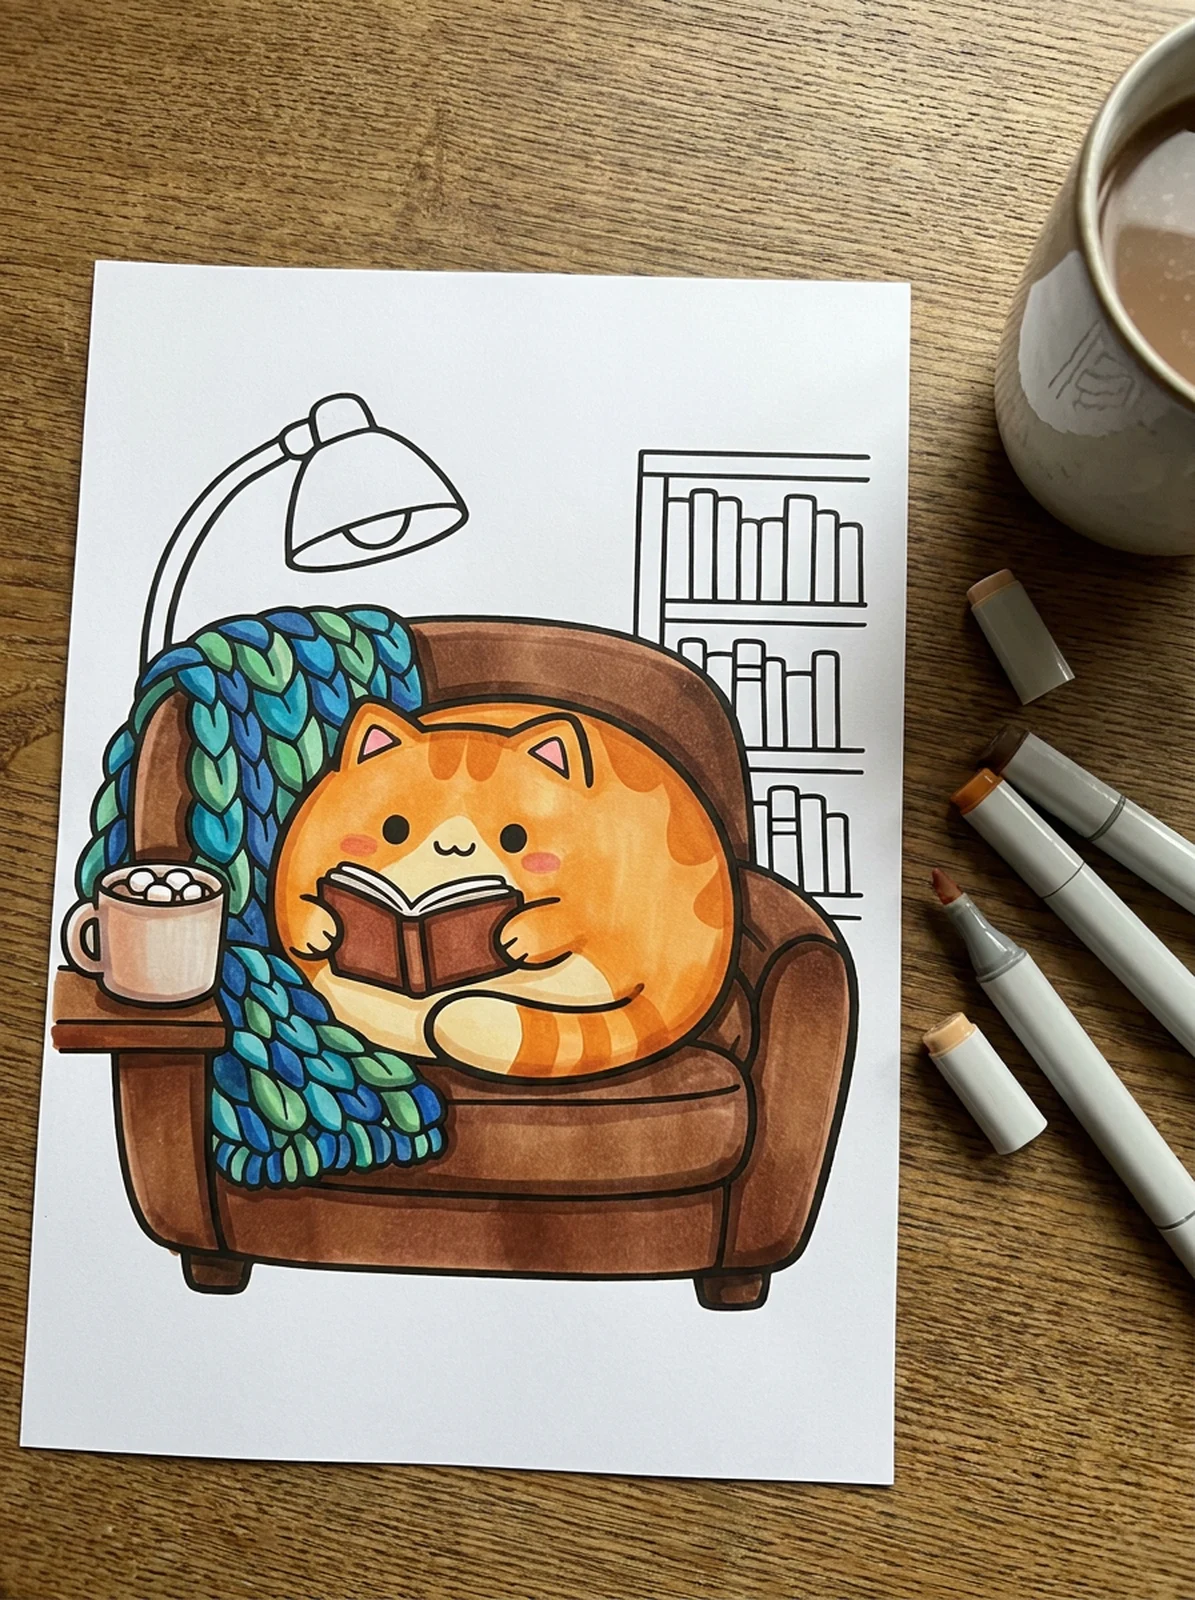
The short version
- Print on 65 lb cardstock (176 gsm) or 110 lb index (199 gsm) and keep 3 to 4 scrap sheets under the page. Alcohol ink goes through thin paper.
- Inkjet printer? Print in Draft or grayscale and let the page dry 24 hours, or the markers can drag the black lines.
- Fill with the brush tip in overlapping strokes, and never pause more than a few seconds inside one shape.
- Blend while wet: a light color first, a darker one 1 to 2 shades away on the shadow side, then the light one again over the join.
- Shade from one light source: a second layer on the far side, a small shadow under each object, faces left clear.
- Finish with a pink dot on each cheek and white gel pen highlights on dry ink.
Set up: paper, blotter, printer
Most problems with alcohol markers start before the first stroke. Three things to get right:
Paper
| Paper | gsm | With alcohol markers |
|---|---|---|
| 20 lb copy paper | 75 | Bleeds every time; evens out color but drains markers. Practice only |
| 32 lb laser paper | 120 | Coco Wyo's range for its PDFs is 120 to 140 gsm. Bleeds often |
| 65 lb cardstock | 176 | The cheap default, about 4 cents a page. Rarely bleeds with a blotter |
| 110 lb index cardstock | 199 | Thaneeya McArdle's paper for years. Less bleed still |
| Watercolor or mixed-media | 200+ | Avoid: soaks ink, pills and wears nibs |
Smooth paper keeps alcohol ink wet for 2 to 3 seconds; rough, absorbent paper dries it in under a second, which is where streaks come from (Coloring Dojo). Pick the smoothest cardstock you can find.
Blotter sheet
Coloring Dojo suggests cardstock, chipboard or 3 to 4 scrap sheets, replaced once they are soaked, because wet ink can wick back up. Caro's Art Studio uses a thick watercolor sheet ("the thicker the better"); a Chloe Rose Art viewer uses flattened Amazon box cardboard. Skip glossy magazine pages and paper towels.
Printer line ink
Laser toner is safe; inkjet ink can smear. A Pictured Purpose recommends a laser printer for alcohol markers because inkjet ink is liquid and can smear. JordynAlisonDesigns' inkjet black transferred onto her yellow, green and light purple nibs. If you only have an inkjet:
- Print in Draft or Grayscale: less ink on the page (Michelle's MBellishments, Paperesse).
- Let the print dry 24 hours before coloring.
- Test one corner with a pale marker first. Sources disagree on which inks are safe, so the corner test is the only reliable rule.
Our free coloring pages are vector PDFs in US Letter and A4 with 1/2 in margins: print at Actual size on cardstock. The printing guide has tray and media settings.
Do alcohol markers bleed?
Yes. They are made to soak into paper, and they keep going. Coloring Dojo's table: 60 to 80 gsm bleeds almost always, 90 to 120 often, 130 to 160 sometimes, 160 to 200 rarely with a blotter, 200 to 250 very rarely. On cardstock you may still see the color from the back (ghosting) without it reaching the next sheet, which is what JordynAlisonDesigns saw.
Ink also spreads sideways as it dries. Bobbie Goods tells colorists to color "just under the line", and A Pictured Purpose leaves a hair of white before the outline. Thick outlines help: Colour with Claire says bold black lines give you a little room for bleed. Our easy pages use 1.7 mm lines for that reason.
Swatch and pick a palette
Markers dry to a different color than the cap suggests, and look different on different paper. A Pictured Purpose swatches every set on the paper she colors on. Then choose a short palette: Little Stardust Press suggests two main colors, one neutral, one darker shade and one small accent, each main color repeated in 2 or 3 places. Its "Christmas Bakery" palette, for example: cranberry, pine, cream, gingerbread and soft gold.
Our tip
Flat, even fills without streaks
The whole trick is a wet edge. Alcohol ink blends with itself only while it is wet. If a stroke lands next to one that has already dried, you get a line.
- Use the brush or chisel tip for anything bigger than a fingernail. The fine tip is for eyes and tiny gaps.
- Start at the line, just inside it, and work toward the middle.
- Overlap almost the whole previous stroke. Shrimpy says streaks come from strokes spaced too far apart and from going back over areas that have dried.
- Don't stop. Colour with Claire found that lifting the pen for about five seconds is enough to leave a streak. On a big shape, move back and forth across it so no edge dries.
- Turn the page so your strokes stay short and comfortable on long shapes (Colour with Claire).
- Don't scrub. Sarah Renae Clark's point: the ink blends itself while wet, and pressing harder doesn't help.
Circles or strokes? Both work. Michelle's MBellishments colors in small circles, which keeps the edge wet in all directions on small and medium shapes. Long overlapping strokes are faster on big ones. Thaneeya McArdle sums up the pace: color "slowly and quickly", slow enough to saturate the paper, quick enough that the edge stays wet.
A marker that is running dry is the most common cause of streaks that won't go away. If a marker drags or the color looks pale, refill it before the session.
Second coats wait
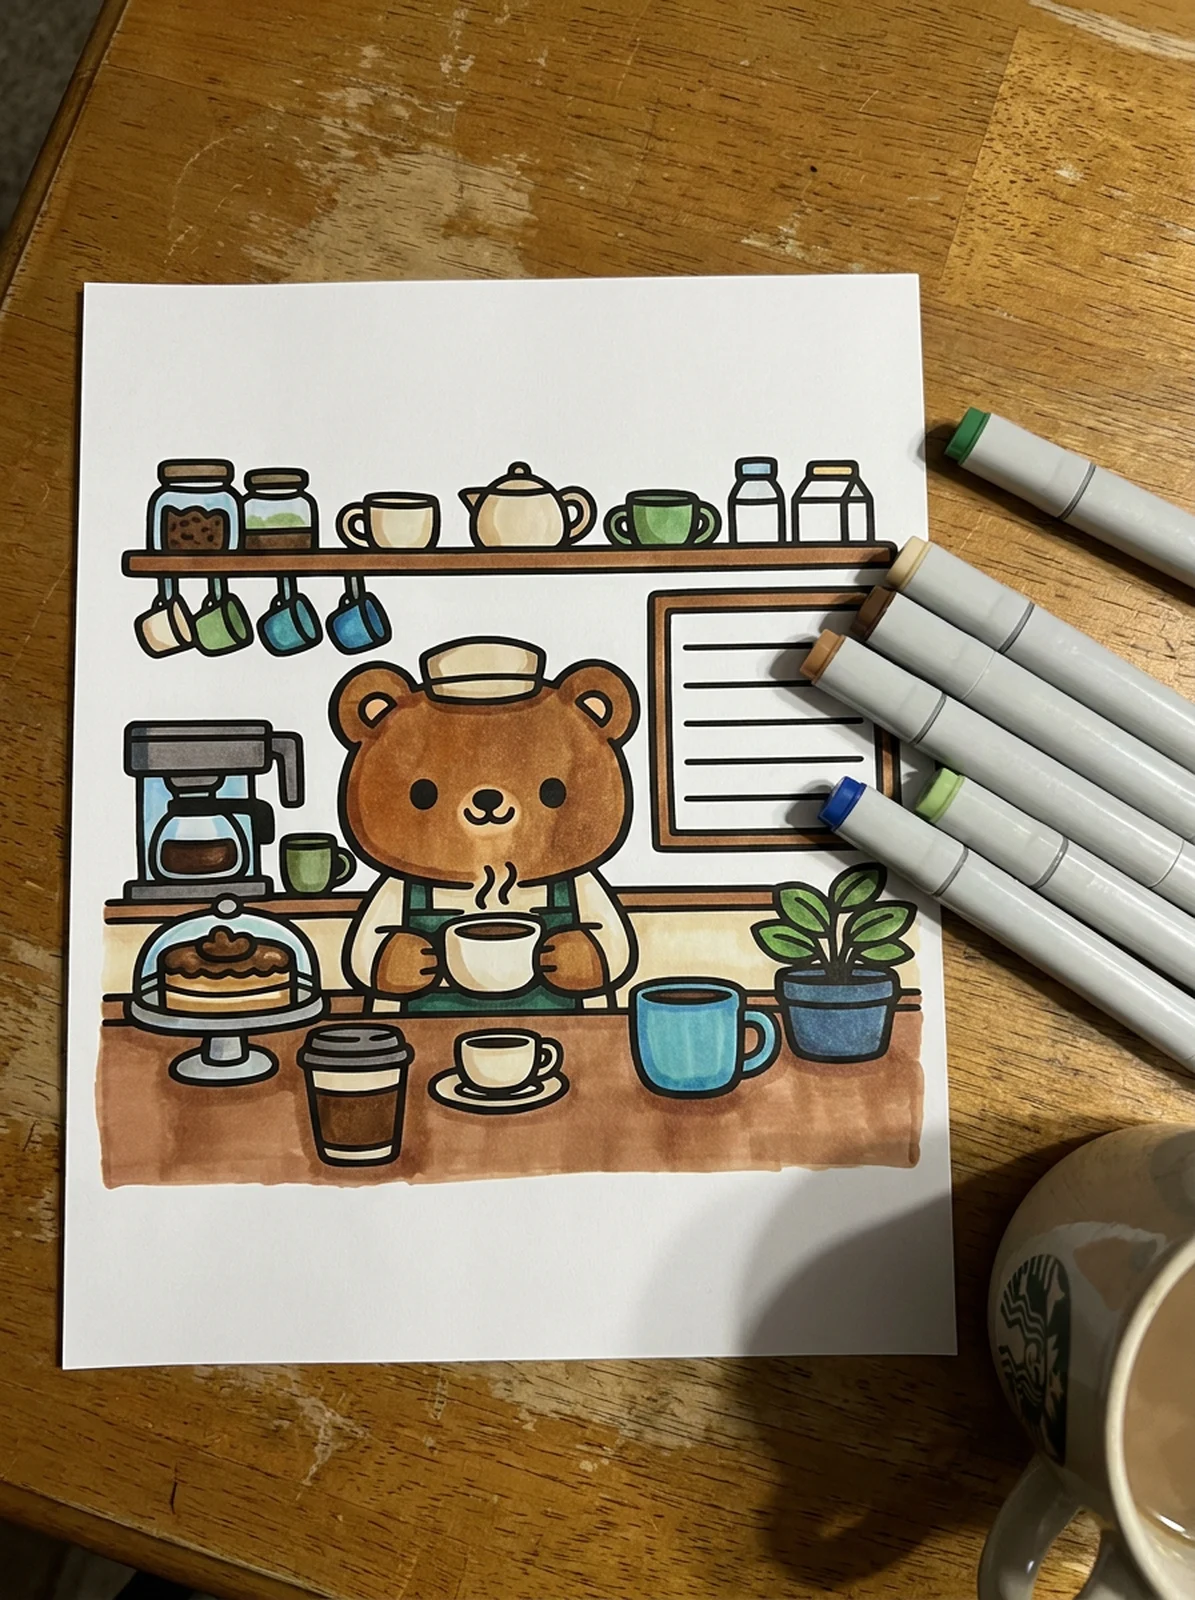
How to blend two tones
Choose two colors close in value. Shrimpy suggests colors within 2 or 3 steps of each other on the color wheel; a very light and a very dark marker won't meet in the middle. A light and a medium brown, a pale pink and a rose.
Method 1: dark into wet light (soft, quick)
- Fill the whole shape with the light color.
- While it is still wet, color the shadow side with the darker one.
- Go back over the join with the light color, pulling it into the dark.
Caro's Art Studio uses a darker tone on a wet base for soft gradients on round things, and the same tone on a dry base when she wants a crisp edge, like a cast shadow.
Method 2: flick from both ends (longer gradients)
Shrimpy's method: flick the dark color from one end toward the middle, then the light from the other end toward the middle, and repeat in about four alternating layers. Each pass softens the meeting point. Flicking means lifting the tip as you finish the stroke, so the color fades out.
Method 3: tip-to-tip with the colorless blender
Artists Network describes loading a color marker with blender by touching the two tips together. The first strokes go down pale and darken as the blender runs out of the nib: a gradient from one marker. It only works on fresh ink.
ShrimpyHow to ACTUALLY Color with Alcohol Markers, 1.3M views
Our tip: Practice a blend on the swatch strip at the edge of your print before you try it on a face.
Simple shading on cozy pages
Pick one light source and stick to it. Caro's Art Studio uses a lamp or window in the scene if there is one, and otherwise "just pick a side": she likes the upper left. There is "no light police", as she says.
Sarah Renae Clark names four kinds of shade. On a bold-and-easy page, the first two do most of the work:
- Cast shadow: a small shadow under each object, on the side away from the light. Kristina Hunter Art says it makes objects sit on the table instead of floating. Bigger objects get bigger shadows; flat things on the ground barely any.
- Shadow side: the side of each object facing away from the light.
- Contact shadow: a thin dark line where two things touch, like a mug on a saucer.
- Light side: leave it as the base color.
Three strengths of shadow
Kristina Hunter Art layers the same way every time:
- Subtle: the same marker again, once the first layer is dry.
- Stronger: the next darker marker in the same family.
- Darkest: a third pass in the deepest corner only.
Shade within the color family, or with a matching gray. Caro shades red with a red gray and green with a green gray, and only on a dry base, since gray over wet color lifts it. A cool gray on a warm red looks "crashing". For round shapes like oranges, she adds three layers, each one smaller than the last. Simply Kewy goes the other way: a gray shadow layer first, then color on top.

Blank: the lamp sits upper left

Colored: a soft palette of cream, beige and sage, pink cheeks
Faces and blush cheeks
Don't shade faces. Kristina Hunter Art skips shading over the cat's face entirely and keeps the eyes and snout clear. A cozy character looks right with a flat face and pink cheeks.
- Marker blush: a pale pink dot or small oval on each cheek, on dry base color, with the brush tip barely touching.
- Softer blush: a pink colored pencil over the dry marker, in small circles. It fades out at the edges more gently than ink.
- Keep it pale. You can go darker with a second dot; you can't go lighter.

Two Cats Sharing Hot Cocoa
79 spaces · Easy

Capybara Holding a Mug of Hot Cocoa
49 spaces · Easy

Bunny Wrapped in a Blanket with Cocoa
44 spaces · Easy

Kitten Sitting in a Teacup
29 spaces · Easy
Highlights
A white gel pen goes on last, on dry ink. Kristina Hunter Art warms the pen between her fingers first, and watches her hand, because fresh gel smears. Where to put them:
- Shiny things: mugs, teapots, glass, fruit, leaves, metal. A curved stroke on the side facing the light.
- Windows: two short parallel lines across the glass.
- Eyes: one dot, on the same side in every eye.
- Not on fur or most wood: Kristina Hunter Art leaves those matte.
Sarah Renae Clark goes further and uses highlights everywhere; it is a matter of taste. Uni-ball Signo UM-153 is the more opaque pen, Gelly Roll the finer one. More in the markers guide.
Backgrounds
The background is the biggest shape on the page, so it is where streaks show. Colorists split on order: some color it first so any bleed happens before the rest, others last so a mistake can't ruin finished work. Options that suit cozy pages:
- Leave it white. On a full scene, the characters stand out more.
- One pale flat color, filled section by section where the drawing already breaks it up (tiles, planks, panes, clouds). Each section is small enough to keep wet.
- A pattern in a lighter color: Colour with Claire adds wallpaper patterns in a shade lighter than the wall.
- A glow: lighter near a lamp, fire or TV and darker away from it. Colour with Claire draws two faint pencil lines from the TV corners and keeps the inside lighter.
- A night scene: dark blues and purples outside a window, with warm color inside.

Fixing mistakes with the colorless blender
The colorless blender is alcohol without color. Michelle's MBellishments lists what it does: lightens color, pushes stray ink back inside a line, fades a color to white, softens hard edges. Every Ohuhu set includes one.
- Ink over the line: run the blender from outside the slip toward the shape, a little at a time. It lightens the slip; it rarely removes it.
- Use it sparingly. Colour with Claire shows how too much blender spreads past the line in a frilly "cauliflower" edge. Thick outlines hide some of it.
- On inkjet prints, heavy blender over a printed line can make the line bleed.
- Bigger mistakes: cover with a darker color, or with an opaque acrylic marker. Turn a stray mark into a pattern with white gel pen dots.
- Or reprint. With a printable page, a ruined page costs one sheet of cardstock.
Troubleshooting
| Problem | Likely cause | Fix |
|---|---|---|
| Streaks in a flat fill | Strokes spaced out; an edge dried; going back over dry ink | Overlap strokes, keep moving, turn the page, color the shape in one go |
| Streaks that won't go away | Marker nearly dry | Refill it (a 16 ml Ohuhu bottle is about $5) |
| Blotchy, uneven color | Thick uncoated or rough paper drying ink too fast | Smoother paper; one r/Coloring user finds thin, cheap paper gives the most even fills |
| Color spreads past the line | Ink wicks as it dries; thin paper | Color just inside the line; heavier paper; quick dabs in corners |
| Ink on the next page or the table | No blotter, or a soaked one | 3 to 4 scrap sheets under the page, changed when wet |
| Ink pools and stays wet | Plastic sheet straight under the page | Scrap paper between the page and the plastic |
| Black lines smear; light nibs turn gray | Inkjet ink not dry or not marker-safe | Laser print, or Draft/grayscale and a 24-hour dry; test a corner first |
| Color looks different once dry | Markers dry darker or lighter, and vary by paper | Swatch on the same paper first |
| Frilly edge after using the blender | Too much blender | Less blender next time; hide a bad one with an opaque marker or a darker color |
| Blend has a hard line in the middle | Colors too far apart in value, or the first one dried | Choose closer colors; work while wet; go back over the join with the light one |
| Gel pen highlight smudged | Ink underneath still wet, or a hand dragged through it | Highlights last, on dry ink; work away from your hand |
| Finished page faded | Dye-based ink in sunlight (all alcohol markers) | Keep pages out of the sun; scan favorites when finished |
Streaky first pages are normal, and the r/Coloring regulars say so too. A bold-and-easy page takes about 30 minutes in marker by Coco Wyo's own estimate; Chloe Rose Art spent a little over an hour on a cozy scene. Print the same page twice and compare: the second is always smoother.
Color your first page
Start with Hot Cocoa Mug with Marshmallows: a few big round shapes, one light source, a highlight on the mug. Then move to a full scene from the cafe and bakery collection, or browse all bold and easy pages. Still choosing a set? Read the best markers for coloring books.
Ready to color?
216 free cozy coloring pages: PDF in US Letter or A4, or color online. No sign-up.
Questions people ask
Do alcohol markers bleed through paper?
Yes, through almost any coloring-book paper. Coloring Dojo's tests: 60 to 80 gsm paper bleeds almost always, 130 to 160 gsm sometimes, 160 to 200 gsm rarely with a blotter. Print your page on 65 lb cardstock (176 gsm) or 110 lb index (199 gsm) and put 3 to 4 scrap sheets under it. Even then you may see color from the back (ghosting).
How do you blend alcohol markers?
Pick two colors close in value. Lay the light one over the whole shape, then add the darker one on the shadow side while the light one is still wet, and go back over the join with the light marker. For a longer gradient, Shrimpy flicks outward from each end toward the middle in about four alternating layers.
Why are my alcohol markers streaky?
Usually one of three things: the strokes were spaced apart, you paused long enough for an edge to dry (about five seconds is enough), or the marker is nearly empty. Overlap every stroke, keep moving, turn the page to keep strokes short, and refill markers that start to drag.
Can you use alcohol markers on printer paper?
You can, for practice: the ink spreads evenly on thin paper, but it bleeds straight through and drains your markers. Put a blotter underneath. For pages you want to keep, print on cardstock.
Are alcohol markers good for beginners?
Yes, on pages with big shapes and thick outlines. They fill large areas fast and blend on their own while wet. A 24 to 48 color set with a brush tip is enough. They don't forgive mistakes, so plan colors on a spare print first.
Can you erase alcohol markers?
No. A colorless blender can push a small slip back toward the line or lighten an area, but it can't make paper white again. Cover bigger mistakes with a darker color or an opaque acrylic marker, or reprint the page and start over.
How this guide was made
Written by Cozy Coloring from colorists' own videos and posts, brand specifications and independent reviews, listed below. We have not run lab tests: where sources disagree, we say so.
- Colour with Claire: Cute, Comfy & Cosy Colouring Tips (YouTube)
- Shrimpy: How to ACTUALLY Color with Alcohol Markers (YouTube)
- Caro's Art Studio: How to color shadows on a cozy page (YouTube)
- Kristina Hunter Art: How to Shade with Alcohol Markers, Cozy Coloring (YouTube)
- Thaneeya McArdle: Top 8 Tips for Alcohol Marker Beginners (YouTube)
- Thaneeya McArdle: Tips for using alcohol markers in coloring books
- A Pictured Purpose: Mastering Alcohol Markers (YouTube)
- Sarah Renae Clark: Trying Every Viral Colouring Book Trend (YouTube)
- JordynAlisonDesigns: cardstock vs regular paper (YouTube)
- Coloring Dojo: Marker bleed-through and paper weight
- Michelle's MBellishments: Copic marker FAQ
- Artists Network: How to blend with markers the right way
- Bobbie Goods: coloring tips on the Day to Night book page
- Little Stardust Press: 8 easy colour palette ideas for cozy colouring pages